Table of Contents
As an experienced Flutter developer, you know the importance of maintaining a clean and manageable codebase, especially as your app scales. Understanding the BLoC State Management (Business Logic Component) serves as the foundation of Flutter, offering a structured approach that separates business logic from the UI.
BLoC operates by receiving events, processing them, and outputting new states. This clear separation ensures that your app’s business logic remains isolated, testable, and easy to maintain. By implementing BLoC in Flutter apps, you create a solid foundation for the app’s architecture, much like a well-designed blueprint guides the construction of a building.
In essence, BLoC is the backbone of state management in Flutter, providing a robust structure that allows your app to scale while keeping the codebase organized and efficient.
Why Choose BLoC? The Mechanics Behind Flutter’s Workflow
In Flutter, the UI is reactive and continuously listens for changes in state. Without a well-defined state management system, this can lead to complex and hard-to-maintain codebases. BLoC streamlines this process by clearly defining how events trigger state changes, ensuring that your app remains responsive and maintainable as it grows.
Advantages of Using BloC in Flutter:
- Separation of Concerns: Keep your business logic separate from the UI.
- Scalability: Easily manage state changes as your app grows.
- Testability: Isolated business logic makes unit testing straightforward.
Getting Started with BLoC in Flutter: Setting Up the Dependencies
To start using BLoC in Flutter project, you need to add the necessary dependencies, you can add the following in pubspec.yaml file:
Run flutter `pub get to install` the dependencies.
Creating Events: Initiating State Changes
Events in BLoC are inputs that trigger changes in state, every event represents an action that the user can perform, such as submitting a login form.
Here’s an example of creating a login event:
// Define the base class for all events
abstract class LoginEvent {}
// Event: User submits login credentials
class LoginSubmitted extends LoginEvent {
final String username;
final String password;
LoginSubmitted(this.username, this.password);
}
In this example, `LoginSubmitted` is an event that prompts the BLoC to start the login process.
Creating States: Reflecting the App’s Current Status
States in BLoC in Flutter represent the different stages your app can be in as a result of events. For a login process, you might have states like loading, success, or failure.
Define these states:
// Define the base class for all states
abstract class LoginState {}
// State: Initial state before any action
class LoginInitial extends LoginState {}
// State: Loading state during the login process
class LoginLoading extends LoginState {}
// State: Success state after a successful login
class LoginSuccess extends LoginState {
final String token;
LoginSuccess(this.token);
}
// State: Failure state after a failed login
class LoginFailure extends LoginState {
final String error;
LoginFailure(this.error);
}
These states help your app’s UI accurately reflect what’s happening in the background, ensuring that users are always aware of the current process.
Managing BLoC with State and Events: Implementing the Logic
Now that you have your events and states set up, you need to manage how these interact using BLoC. This is where the core business logic of your app lives.
Here’s how you can implement a LoginBloc to handle the login process:
class LoginBloc extends Bloc<LoginEvent, LoginState> {
final UserRepository userRepository;
LoginBloc(this.userRepository) : super(LoginInitial()) {
on<LoginSubmitted>((event, emit) async {
emit(LoginLoading());
try {
final token = await userRepository.authenticate(
username: event.username,
password: event.password,
);
emit(LoginSuccess(token));
} catch (error) {
emit(LoginFailure(error.toString()));
}
});
}
}
In this example, when a LoginSubmitted event is triggered, the BLoC handles the event by authenticating the user through a repository and then updating the state based on the outcome.
Integrating BLoC with the UI: Bringing It All Together
Now that you’ve implemented your BLoC with events and states, it’s time to see how it integrates with the UI. In Flutter, BLoC can be seamlessly connected to widgets which allows the UI to react to state changes in real-time.
Let’s walk through an example of how to handle the login BLoC in the UI.
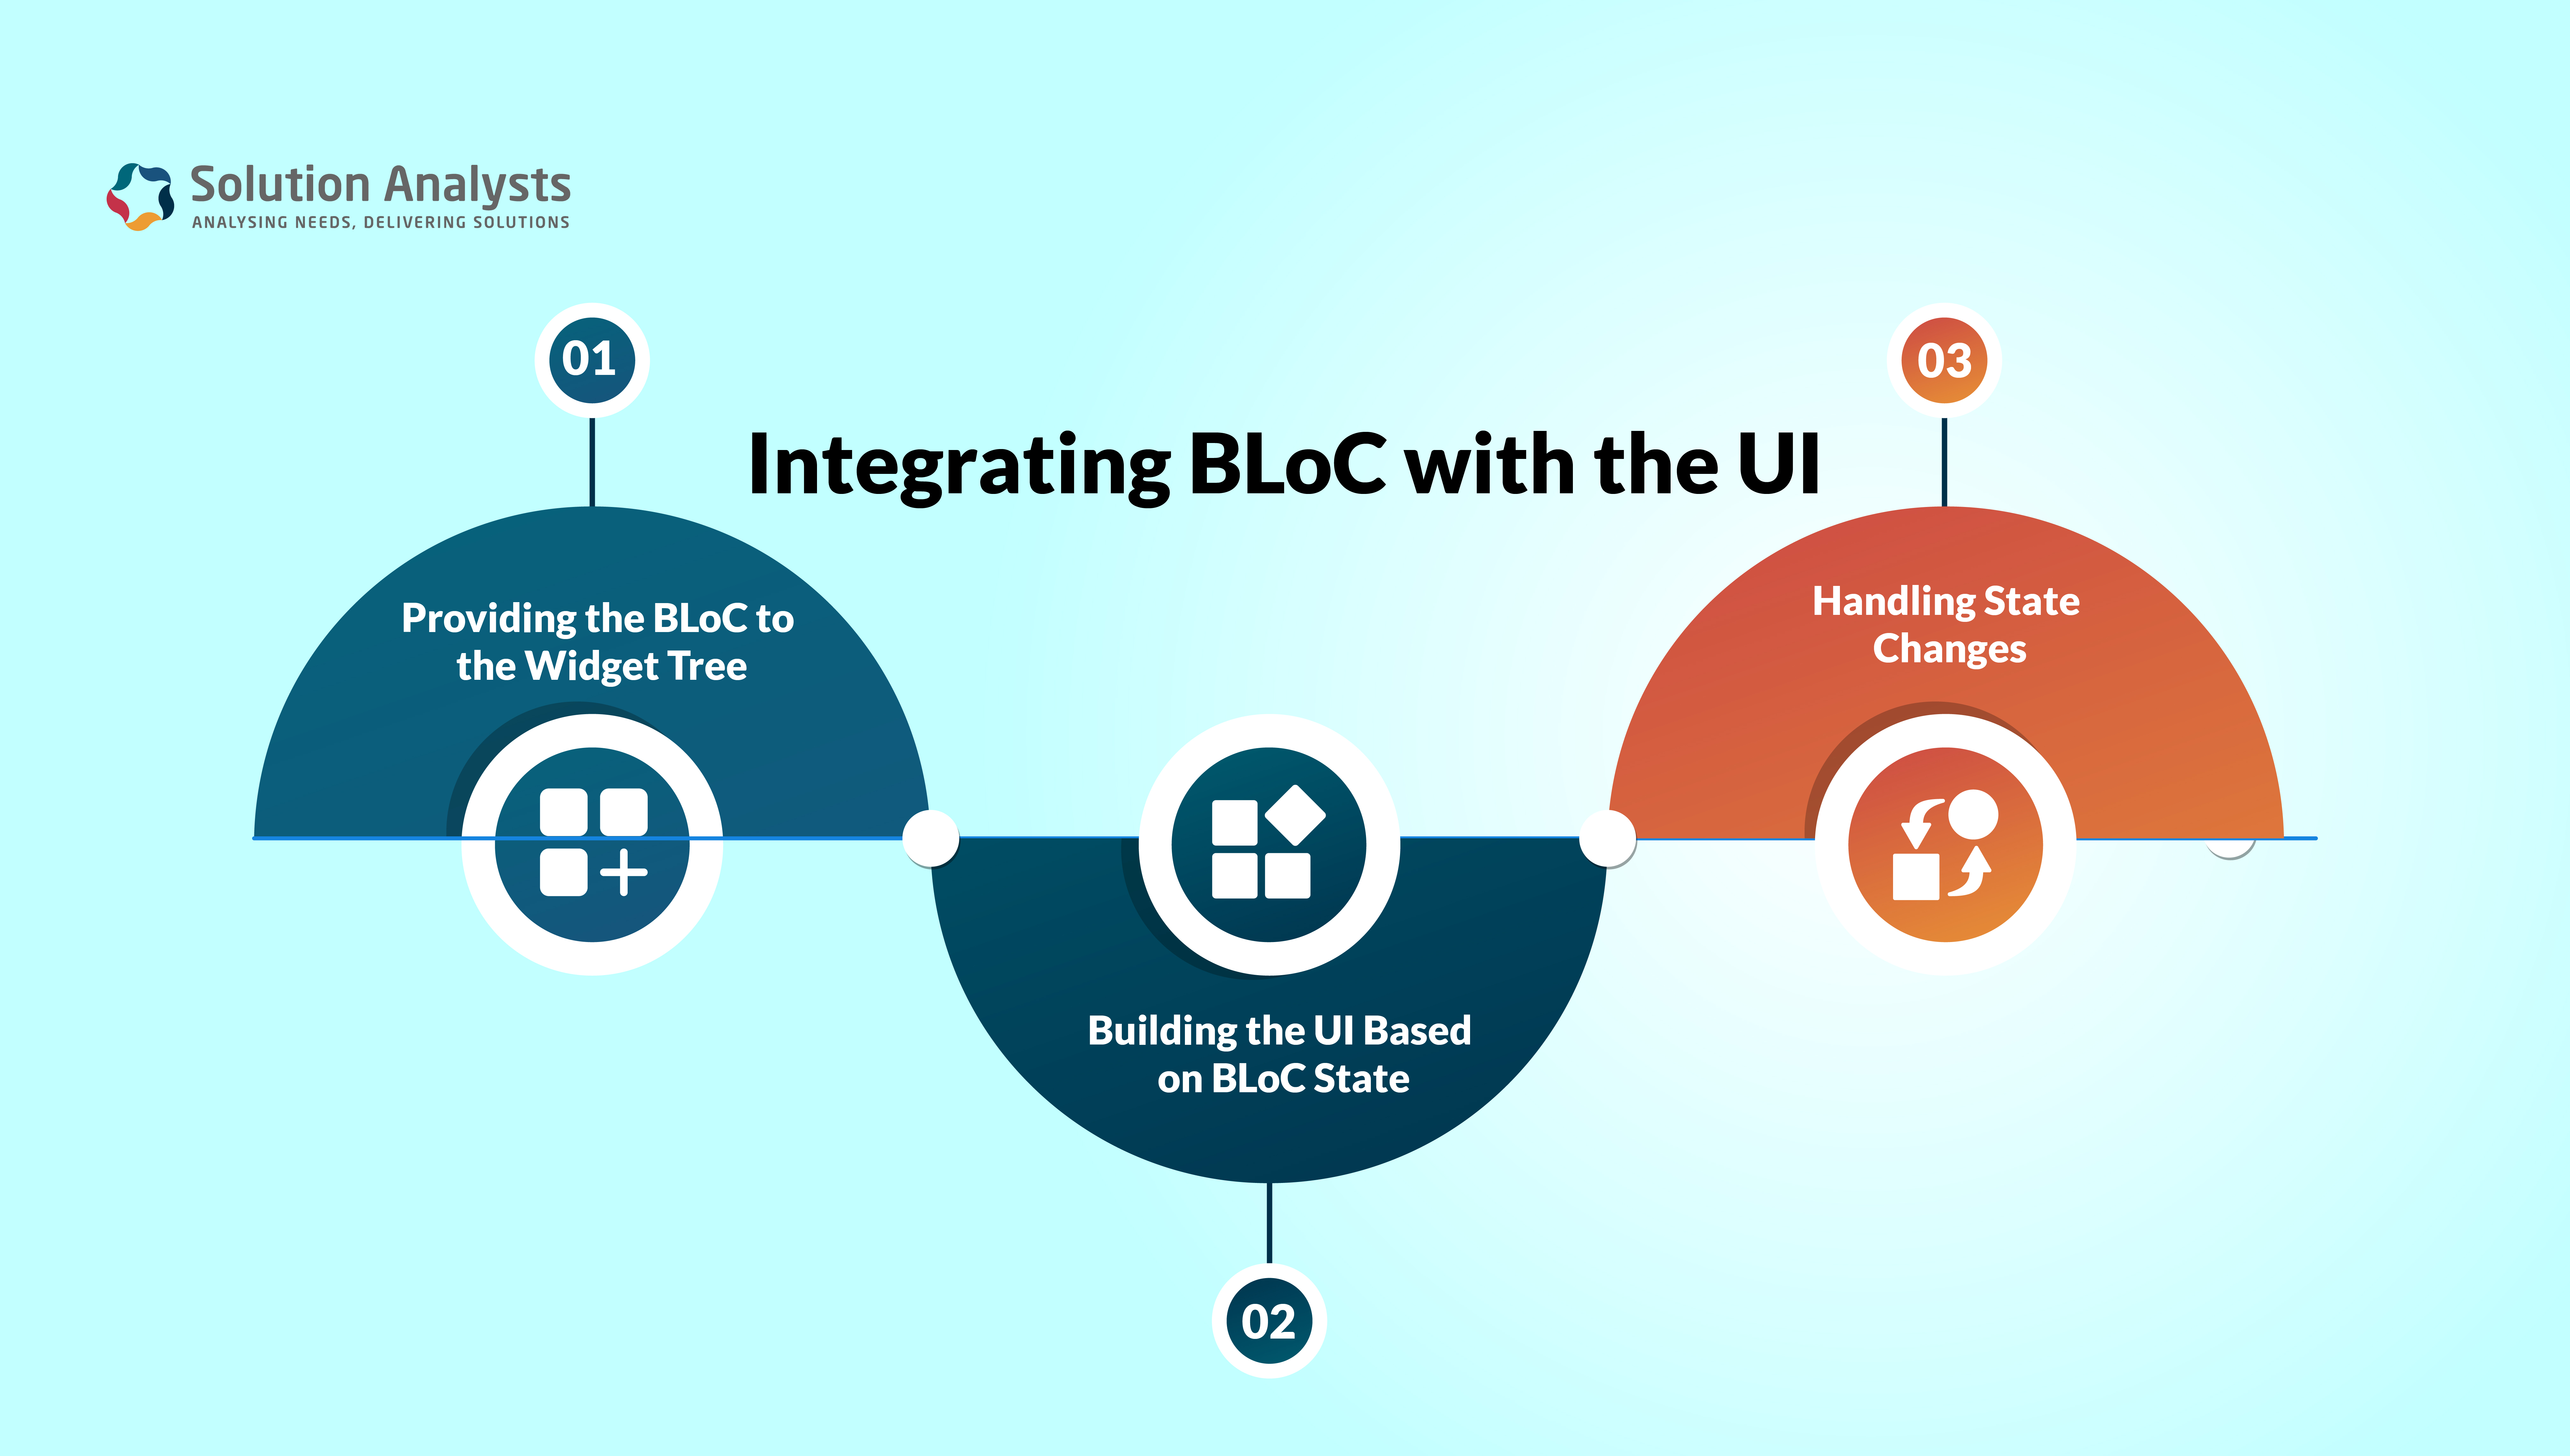
Step 1: Providing the BLoC to the Widget Tree
First, you need to make the LoginBloc available to the widgets that need it. You can do this by using the BlocProvider widget, which will inject the BLoC into the widget tree:
void main() {
final userRepository = UserRepository(dio: Dio());
runApp(
BlocProvider(
create: (context) => LoginBloc(userRepository),
child: MyApp(),
),
);
}
class MyApp extends StatelessWidget {
@override
Widget build(BuildContext context) {
return MaterialApp(
home: LoginScreen(),
);
}
}
In this setup, LoginBloc is provided to the entire widget tree, making it accessible to any child widget that needs it.
Step 2: Building the UI Based on BLoC State
Next, you’ll create a LoginScreen widget that reacts to the state changes in LoginBloc. Using the BlocBuilder widget, you can rebuild parts of the UI based on the current state.
Set up the login screen:
class LoginScreen extends StatelessWidget {
@override
Widget build(BuildContext context) {
return Scaffold(
appBar: AppBar(title: Text(‘Login’)),
body: BlocBuilder<LoginBloc, LoginState>(
builder: (context, state) {
if (state is LoginInitial) {
return _buildLoginForm(context);
} else if (state is LoginLoading) {
return Center(child: CircularProgressIndicator());
} else if (state is LoginSuccess) {
return Center(child: Text(‘Login Successful!’));
} else if (state is LoginFailure) {
return _buildLoginForm(context, error: state.error);
} else {
return Container();
}
},
),
);
}
Widget _buildLoginForm(BuildContext context, {String? error}) {
final usernameController = TextEditingController();
final passwordController = TextEditingController();
return Padding(
padding: const EdgeInsets.all(16.0),
child: Column(
children: [
if (error != null) Text(error, style: TextStyle(color: Colors.red)),
TextField(
controller: usernameController,
decoration: InputDecoration(labelText: ‘Username’),
),
TextField(
controller: passwordController,
decoration: InputDecoration(labelText: ‘Password’),
obscureText: true,
),
SizedBox(height: 16),
ElevatedButton(
onPressed: () {
context.read<LoginBloc>().add(
LoginSubmitted(
usernameController.text,
passwordController.text,
),
);
},
child: Text(‘Login’),
),
],
),
);
}
}
Step 3: Handling State Changes
In this example, the BlocBuilder listens to the LoginBloc and rebuilds the UI based on the current state:
- LoginInitial: Displays the login form.
- LoginLoading: This shows a loading spinner while the login request is in progress.
- LoginSuccess: Displays a success message when the login is successful.
- LoginFailure: Rebuilds the form and displays an error message if the login fails.
The _buildLoginForm function handles the login form layout and submits the LoginSubmitted event to the BLoC when the user presses the login button.
BloCs Communication: Integrating Different BloCs
In a complex app, you might have multiple BLoCs that need to communicate with each other. This ensures that different parts of your app remain synchronized.
For instance, a ProfileBloc might need to update when the user successfully logs in:
// Bloc A: Manages the user’s login status
class LoginBloc extends Bloc<LoginEvent, LoginState> {
// … (as above)
}
// Bloc B: Manages the user’s profile
class ProfileBloc extends Bloc<ProfileEvent, ProfileState> {
final LoginBloc loginBloc;
ProfileBloc(this.loginBloc) : super(ProfileInitial()) {
loginBloc.stream.listen((loginState) {
if (loginState is LoginSuccess) {
// Load profile data after successful login
add(LoadProfile(loginState.token));
}
});
}
}
This setup ensures that your app’s different components remain in sync, improving both the user experience and code maintainability.
Using Repositories: A Key Part of Your Architecture
A repository in BLoC serves as the data layer of your application. It abstracts the details of data fetching, whether from a network, database, or other sources. This separation ensures that your BLoC in Flutter only focuses on the business logic, making the code cleaner and more modular.
Take a look at how you can implement a UserRepository for managing login requests:
class UserRepository {
final Dio dio;
UserRepository({required this.dio});
Future<String> authenticate({required String username, required String password}) async {
final response = await dio.post(
‘https://example.com/api/login’,
data: {‘username’: username, ‘password’: password},
);
if (response.statusCode == 200) {
return response.data[‘token’];
} else {
throw Exception(‘Login failed’);
}
}
}
By using a repository, your BLoC remains focused on handling events and states, leaving the data management details to the repository. This approach not only keeps your codebase organized but also enhances reusability and testability.
Conclusion: The Power of BLoC in Flutter
In this blog, we’ve covered how to architect a Flutter app using the BLoC pattern, focusing on event and state management, building a real-world app with BLoc, integrating BLoC with the UI, communicating between BLoCs, and using repositories. BLoC’s clear separation of business logic and UI helps maintain a scalable and manageable codebase, ensuring your app remains robust as it grows.
If you’re looking to build a scalable and efficient Flutter application with robust state management, our team of experts is here to help. At Solution Analysts, we offer a comprehensive range of IT services, from mobile app development to consulting and strategy. Reach out to us today to learn more about our services and how we can help you achieve your goals.






 sales@solutionanalysts.com
 solution.analysts


