Table of Contents
In recent years, blockchain technology has emerged as a revolutionary force across numerous industries. The centralized nature and the security it provides has given it the boost it required to go across the globe. Countries like El Salvador have adopted Bitcoin as a legal tender across the nation. Blockchain technology is transforming the way we handle data, ensuring transparency, security, and immutability. In this guide, we’ll walk you through building a simple blockchain application with Node.js. By the end of this tutorial, you’ll have a solid understanding of how blockchains work and how to implement one in your projects.
Prerequisites
Before beginning, you must have the following things:
- Basic knowledge of JavaScript and Node.js
- Node.js installed on your system
- A code editor like Visual Studio Code

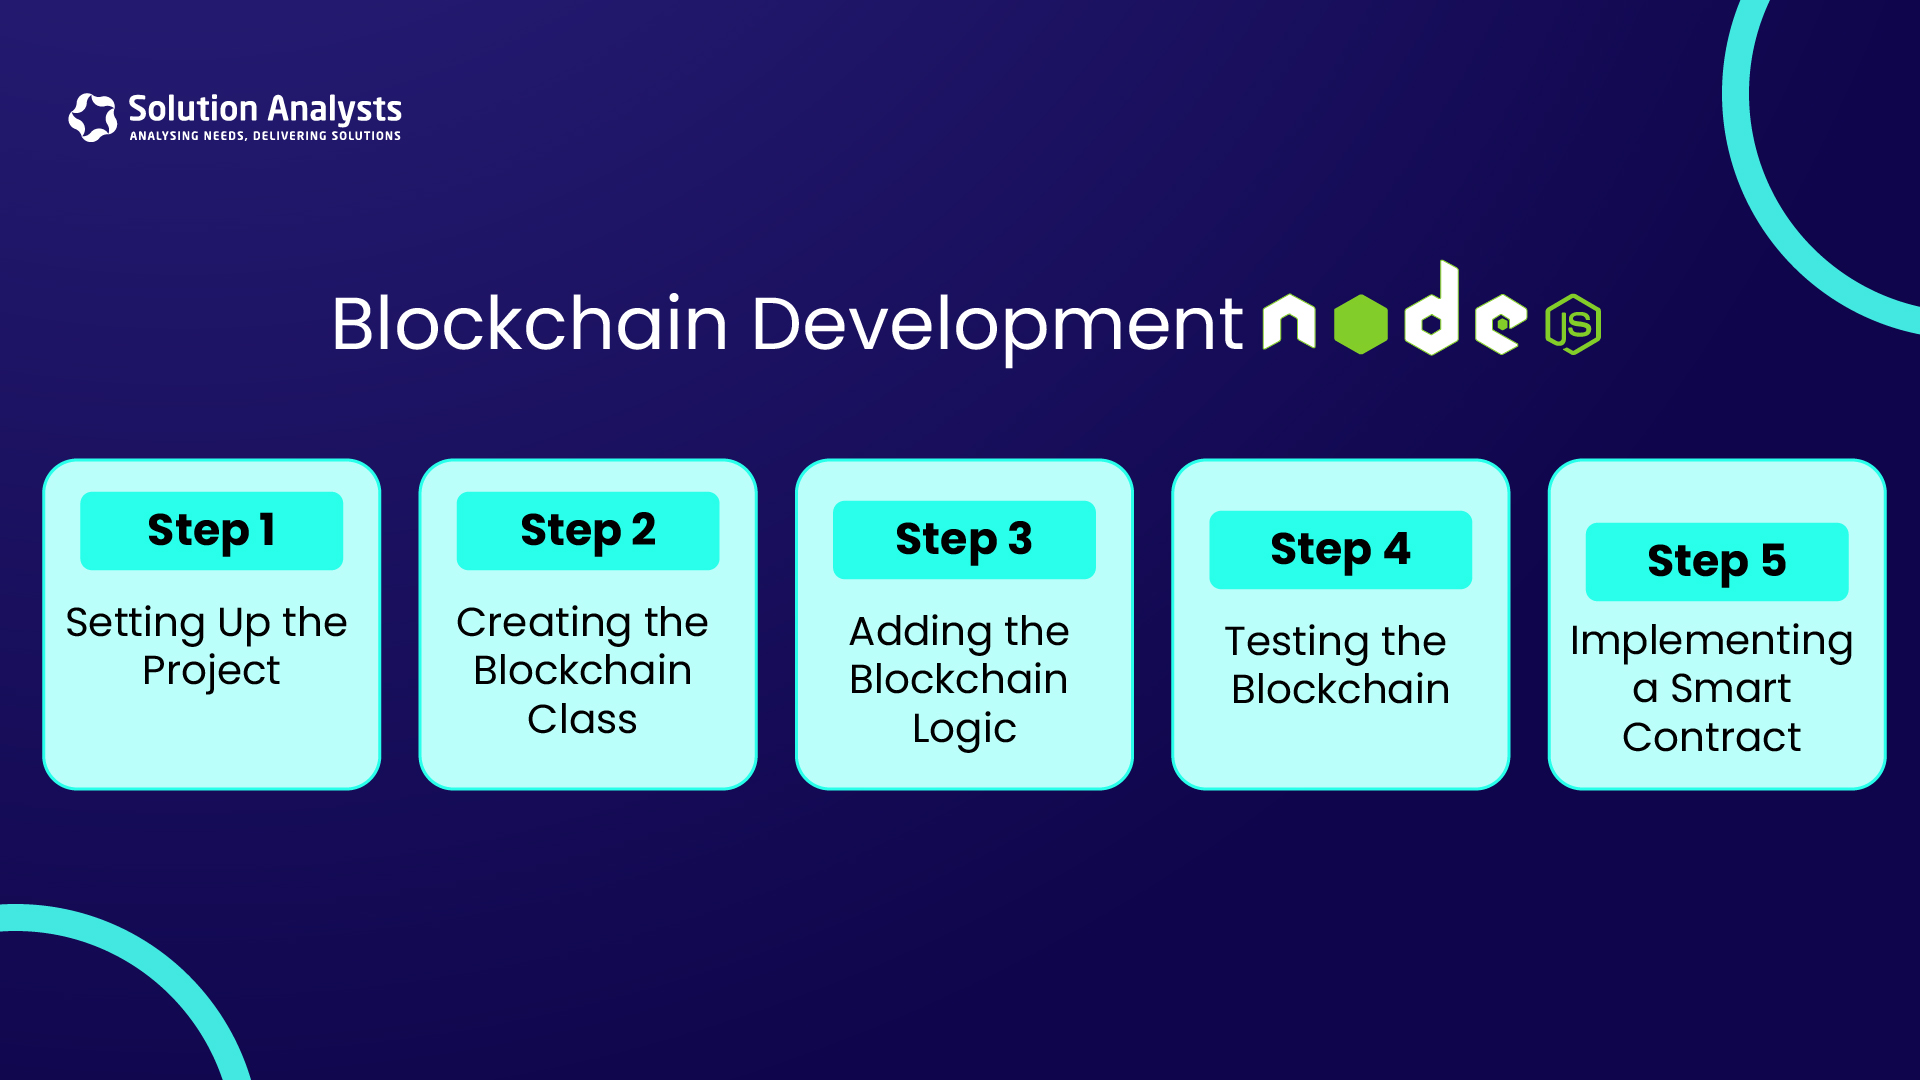
Step 1: Setting Up the Project
Start by creating a new directory for your project and initializing it with npm:
cd blockchain-nodejs
npm init -y
Next, you need to install the necessary dependencies:
Step 2: Creating the Blockchain Class
In the root of your project, create a file named blockchain.js. This file will contain the logic for our blockchain.
class Block {
constructor(blockIndex, timestamp, blockData, previousBlockHash = ”) {
this.blockIndex = blockIndex;
this.timestamp = timestamp;
this.blockData = blockData;
this.previousBlockHash = previousBlockHash;
this.blockHash = this.calculateHash();
}
calculateHash() {
return SHA256(
this.blockIndex +
this.previousBlockHash +
this.timestamp +
JSON.stringify(this.blockData)
).toString();
}
}
This code defines a Block class that represents each block in the blockchain. It is important to know that besides index, timestamp, and data, each block contains its own hash and the previous block hash.
Step 3: Adding the Blockchain Logic
Now, let’s create the blockchain structure by adding a Blockchain class:
constructor() {
this.chain = [this.createGenesisBlock()];
}
createGenesisBlock() {
return new Block(0, “08/22/2024”, “Genesis Block”, “0”);
}
getLatestBlock() {
return this.chain[this.chain.length – 1];
}
addBlock(newBlock) {
newBlock.previousHash = this.getLatestBlock().hash;
newBlock.hash = newBlock.calculateHash();
this.chain.push(newBlock);
}
isChainValid() {
return this.chain.slice(1).every((currentBlock, index) => {
const previousBlock = this.chain[index];
return currentBlock.hash === currentBlock.calculateHash() &&
currentBlock.previousHash === previousBlock.hash;
});
} Preferences
}
The Blockchain class initializes the chain with a genesis block, adds new blocks, and verifies the integrity of the chain.
Step 4: Testing the Blockchain
Finally, let’s test our blockchain by creating some blocks and checking its validity.
let myBlockchain = new Blockchain();
myBlockchain.addBlock(new Block(1, “12/01/2024”, { amount: 4 }));
myBlockchain.addBlock(new Block(2, “12/08/2025”, { amount: 10 }));
console.log(‘Blockchain valid? ‘ + myBlockchain.isChainValid());
console.log(JSON.stringify(myBlockchain, null, 4));
This script will add a few blocks to our blockchain and then print out the blockchain along with its validity.
Step 5: Implementing a Smart Contract
Creating the Smart Contract
Smart contracts are stored and executed on a blockchain application with Node.js, they self-execute and their terms are based on coding. In this section, we’ll create a simple smart contract using Solidity and interact with it using Node.js.
First, let’s create a simple Solidity smart contract. Create a new file called SimpleStorage.sol:
pragma solidity ^0.8.0;
contract SimpleStorage {
uint256 public storedData;
function set(uint256 x) public {
storedData = x;
}
function get() public view returns (uint256) {
return storedData;
}
}
This contract allows you to store and retrieve a single uint256 value on the blockchain.
Compiling the Smart Contract
To compile the Solidity contract, you’ll need the Solidity compiler (solc).
Compile the contract using the following command:
solc –abi –bin SimpleStorage.sol -o output
This will generate the ABI (Application Binary Interface) and the binary code of the contract, which we can use to interact with it in our Node.js application.
Deploying and Interacting with the Smart Contract
Now, let’s create a script to deploy the contract to an Ethereum network and interact with it. We’ll use web3.js for this purpose. First, install the required dependencies:
Create a new file named deploy.js
const Web3 = require(‘web3’);
const fs = require(‘fs’);
const path = require(‘path’);
// Connect to the local Ethereum node
const web3 = new Web3(‘http://localhost:8545’);
// Get the compiled contract’s ABI and bytecode
const abi = JSON.parse(fs.readFileSync(path.resolve(__dirname, ‘output/SimpleStorage.abi’), ‘utf-8’));
const bytecode = fs.readFileSync(path.resolve(__dirname, ‘output/SimpleStorage.bin’), ‘utf-8’);
// Deploy the contract
(async () => {
const accounts = await web3.eth.getAccounts();
const simpleStorage = new web3.eth.Contract(abi);
simpleStorage.deploy({
data: bytecode
})
.send({
from: accounts[0],
gas: 15000,
gasPrice: ‘300000000000’
})
.then(newContractInstance => {
console.log(‘Contract deployed at address:’, newContractInstance.options.address);
});
})();
This script connects to a local Ethereum node, deploys the contract, and prints the contract’s address to the console.
Interacting with the Smart Contract
After deploying the contract, you can interact with it using the following code:
const simpleStorage = new web3.eth.Contract(abi, contractAddress);
(async () => {
await simpleStorage.methods.set(42).send({ from: accounts[0] });
const result = await simpleStorage.methods.get().call();
console.log(‘Stored value is:’, result);
})();
This script sets a value in the contract and then retrieves it, demonstrating how to interact with a smart contract using Node.js.
Conclusion
In this guide, we’ve explored core concepts on how to implement a simple blockchain application with Node.js and even deploy and interact with a smart contract on the blockchain. These skills provide a solid foundation for building decentralized applications (dApps) and exploring more complex blockchain concepts. Remember, building a blockchain application is just the beginning. The possibilities with blockchain technology are endless for innovation and growth.


 sales@solutionanalysts.com
 biz.solutionanalysts


